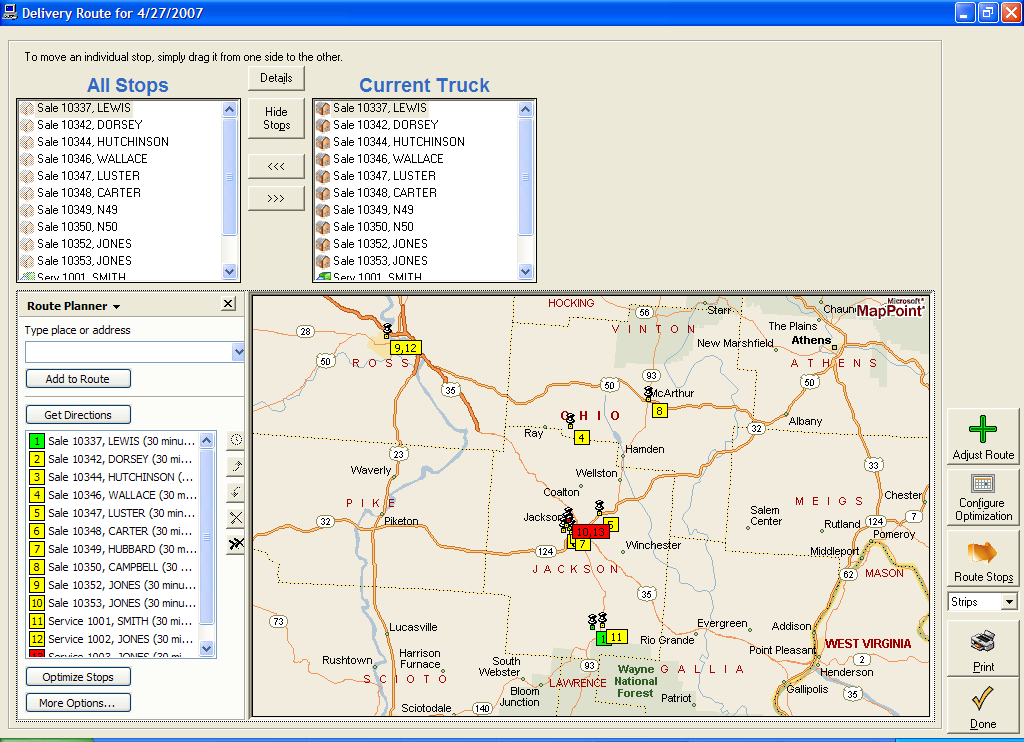
| Option | Description |
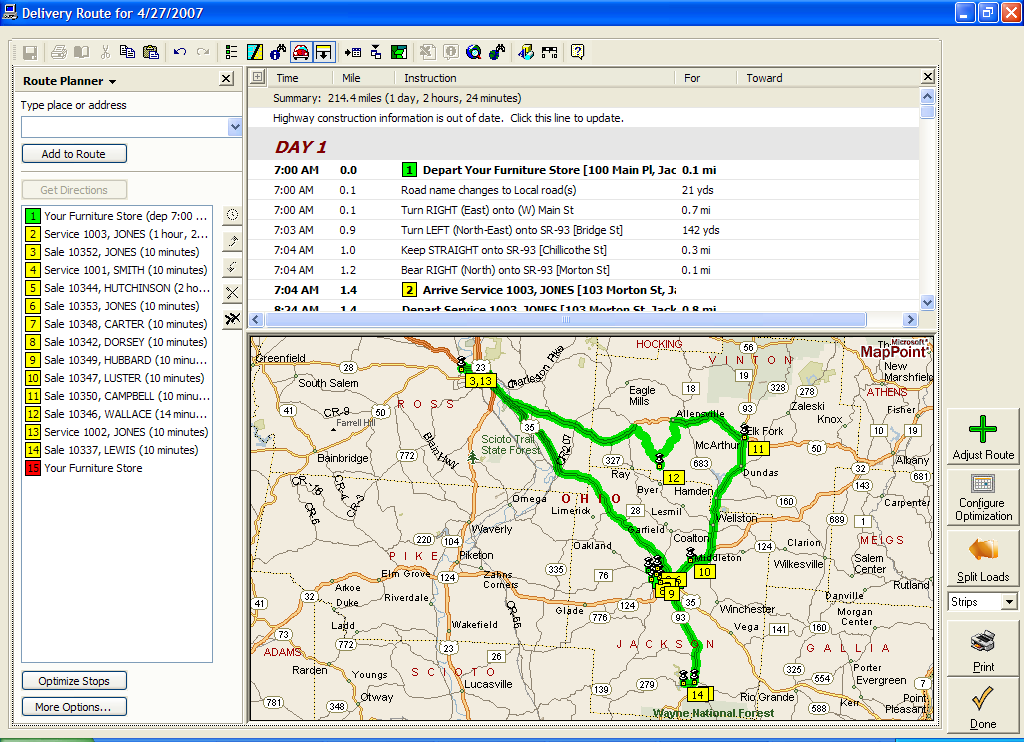
| Strips | This option will print a small strip map, followed by driving directions. |
| Full | This will print a full-paged map for increased detail. |
| Turns | This will print a small map for every important turn. |
| Dirs | This will print out driving directions only, with no map. |
| Map | This prints out an alternative map. |
| CSV | This will put write a file to your computer with the route in a format readable by programs such as Microsoft Excel. |
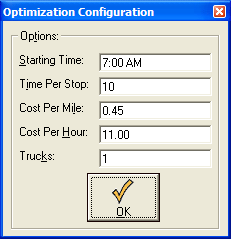 You can adjust how your trucks will be routed by using the configuration panel. You can set the following options:
| Field | Description |
| Start Time | This sets the time that Microsfot MapPoint© will scheduled your truck to depart at. The default is 7:00am |
| Time Per Stop | This sets how long the truck is allotted at each stop once it arrives. The default is 10 minutes. |
| Cost Per Mile | Adjusting this will change how the route is optimized. |
| Cost Per Mile | Adjusting this will change how the route is optimized. |
| Trucks | Currently can only be 1 |